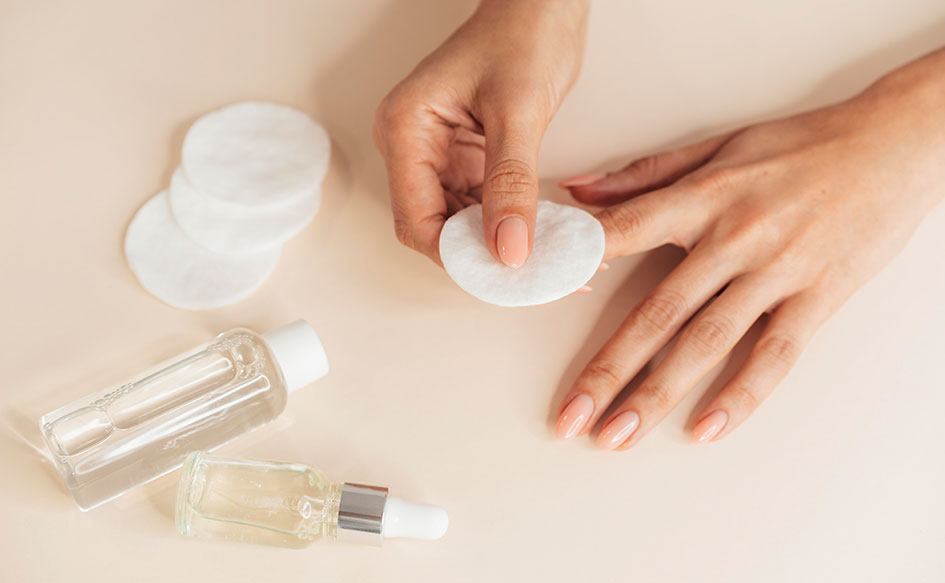
You want clean nails without harsh smells or dry skin. You also want methods that use items you already have. This article gives you that. It shares simple, safe ways to remove nail polish without acetone. You will learn what works, why it works, and how to do it fast. Each method aims to protect your nails and skin. You also get tips to keep nails strong after removal. Because your time matters, each step is short and clear. Most tools are in your kitchen or bathroom. As a result, you can start right now. Let’s keep your nails healthy, neat, and ready for your next look.
Why Choose Natural Options?
Natural options give you control. You can pick mild ingredients that are kind to nails. Many people find that acetone dries nails and skin. With gentle methods, you lower that risk. You also reduce strong odors in your home. That is a win if you have kids or pets nearby.
These methods rely on basic science. Warm water softens the polish. Mild acids help break down the color film. Oils loosen the bond between polish and nail. Light friction then lifts it away. Because these steps are simple, you avoid guesswork.
What’s in it for you? You save money and protect nail health. You can work at your own pace. You also learn skills you can use again. With practice, you will get faster. And yes, you can still get a clean, neat finish.
Way 1: Warm Soapy Water Soak
This is the easiest start. Warm water helps soften the polish layers. Soap reduces surface tension, so water reaches more areas. First, fill a bowl with warm, not hot, water. Next, add a few drops of dish soap. Then soak your fingers for 10 minutes.
After the soak, use a soft cloth to rub each nail. Work in small circles. If needed, soak for five more minutes. Stubborn edges may still cling. So, use an orange stick to lift the polish near the cuticle. Avoid metal tools, which can scratch.
This method is slow but gentle. It shines when your polish is thin. It also pairs well with other steps. For example, soak first and then try toothpaste or vinegar. You gain comfort, and your nails thank you.
Way 2: Vinegar And Citrus Lift
A mix of white vinegar and lemon juice can help. Mild acid loosens the color film. Start with equal parts vinegar and fresh lemon juice. Soak a cotton ball, then press it on the nail for 30 seconds. After that, wipe in one firm stroke. Repeat as needed.
If the smell bothers you, add a splash of water. Or rinse between passes. Always wash your hands after you finish. Then apply a drop of oil to each nail. This helps reduce dryness.
“Gentle acids can break polish bonds, but patience does the heavy lifting.”
This method works well for dark colors. It also helps with stains on the nail surface. As a bonus, lemon can brighten the look of the nail plate. For many, that is the big payoff.
Way 3: Rubbing Alcohol Or Hand Sanitizer
Rubbing alcohol (isopropyl) can dissolve polish binders. Hand sanitizer often works too because it contains alcohol. Place some on a cotton ball and press on the nail. Wait 20 to 30 seconds, then wipe. Repeat until the color fades.
Benefits for you:
- Works fast on most polishes.
- Easy to find at home or in a bag.
- Leaves less residue than oils.
Tips for success:
- Use short presses, not hard scrubs.
- Ventilate the room to reduce the smell.
- Wash your hands and moisturize afterward.
This method gives quick results. It is a smart pick when time is short. Still, alcohol can be drying. So, finish with a little oil or cream. Your nails will feel better.
Way 4: Toothpaste Buff Method
Toothpaste contains mild abrasives. These help lift color from the nail surface. Pick a plain white paste, not a gel. Put a pea-sized dot on each nail. Then rub with a soft cloth for 30 seconds per nail. Rinse and repeat if needed.
This is more like polishing than dissolving. Because it uses friction, go gently. Short, light strokes protect your nail plate. If the color is very bold, try a second pass. You can also pair this with a warm soak first.
This choice is great for stains. It can remove leftover tint after other methods. As you work, check each nail in bright light. Stop when the surface looks clear. Then add a touch of oil to seal in moisture. That small step helps keep nails smooth.
Quick Comparison Table (Pick What Fits Your Day)
Sometimes you just need to choose fast. Use this table to match your goal to a method. It shows time, mess level, smell, and best use.
| Method | Time Needed | Mess Level | Odor Level | Best For |
| Warm Soapy Water Soak | 10–15 min | Low | Low | Thin polish, sensitive skin |
| Vinegar + Citrus | 5–10 min | Low | Medium | Dark colors, surface stains |
| Rubbing Alcohol/Sanitizer | 5–8 min | Low | Medium | Quick results, travel-friendly |
| Toothpaste Buff | 8–12 min | Medium | Low | Stains, light touch-ups |
| Oil + Salt Rub | 8–12 min | Medium | Low | Dry skin, gentle exfoliation |
Way 5: Oil And Salt Rub
Oils help loosen polish while caring for skin. Salt adds gentle grit for lift. Mix one teaspoon of olive or coconut oil with a pinch of fine salt. Massage the mix over each nail for 30 seconds. Wipe with a warm, damp cloth. Then repeat if needed.
Why this helps you:
- You remove color and nourish skin at once.
- You reduce dryness after the process.
- You avoid sharp tools and harsh smells.
How to do it well:
- Use fine salt to protect skin.
- Work in small circles with light pressure.
- Rinse and apply a single drop of oil to finish.
“A little oil goes a long way—care is part of clean.”
This method feels calm and kind. It is a great choice for dry cuticles. It also supports healthy nails over time.
Protect And Nourish After Removal
You worked to remove the polish. Now protect your nails so they stay strong. Wash your hands with mild soap to clear residues. Pat dry. Then apply a drop of jojoba or olive oil to each nail. Massage the oil into the nail and cuticle. Finish with a light, non-greasy hand cream.
Cuticle Care
Soft cuticles mean fewer hangnails. So, use oil daily. If you see rough edges, use a soft buffer. Make only a few gentle passes. This helps smooth without thinning the nail.
Hydration And Rest
Nails need breaks. After removal, wait a day before new polish. During that time, keep nails dry and clean. Drink water, too. Hydration shows in nail growth. With these steps, you prep for a better next manicure.
Safety Tips, Myths, And When To Skip Diy
Your time matters, so do this right. First, test new methods on one nail. Second, avoid harsh scrubbing. Third, keep products away from the eyes.
Remember these points:
- Do not mix methods at the same time.
- Avoid metal tools that can scratch.
- Stop if you feel burning or pain.
Common myths can waste time:
- “Peeling polish is fine.” It is not. It can lift your top nail layers.
- “More force removes faster.” It often damages the surface.
When should you skip DIY?
- If you have nail splits or infections.
- If you wear gel or acrylics that need pro care.
- If you have skin breaks near the nail.
In these cases, seek gentle, expert help.
Final Thoughts
You now have natural nail polish remover options that fit real life. Each method is simple, clear, and kind to the skin. You also learned post-care steps for healthy nails. As you try these, note what works best for you. Then keep those tools handy. Your nails will look clean, and they will feel better, too. For a polished look after DIY removal, schedule a nail polish removalat Blush Nails and Bar. Your clean base is ready for the next style.